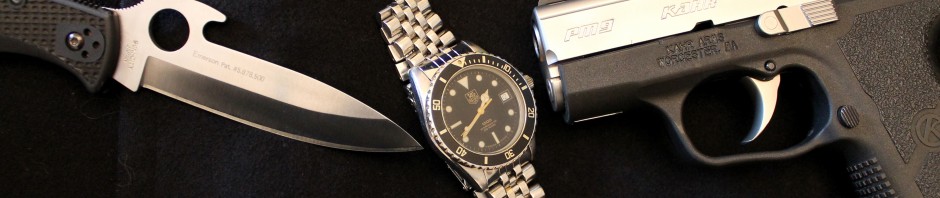
 A few years ago, I had some time and some tools, so I decided to make my own knife. Back then, I needed a heavy duty knife/pry bar as I was in SWAT. The knife you see above is the first one I made. I won’t say it wasn’t hard, but I will say it was well worth it when I was done.
Through Sheffield Knifemaker’s Supply, I ordered some 3/8″ ATS-34 stainless steel bar stock, black canvas Micarta™ scales, epoxy, and stainless steel rod. Okay, I said I had some tools. They were mainly hand tools. I did have a small drill press at the time, but all the other chores were done on the bench by hand.
I had read a few books on knife making and knew that the stock removal method was what would work for me. Nowadays, you can fire up the Internet and learn much about this style of making sharp things.
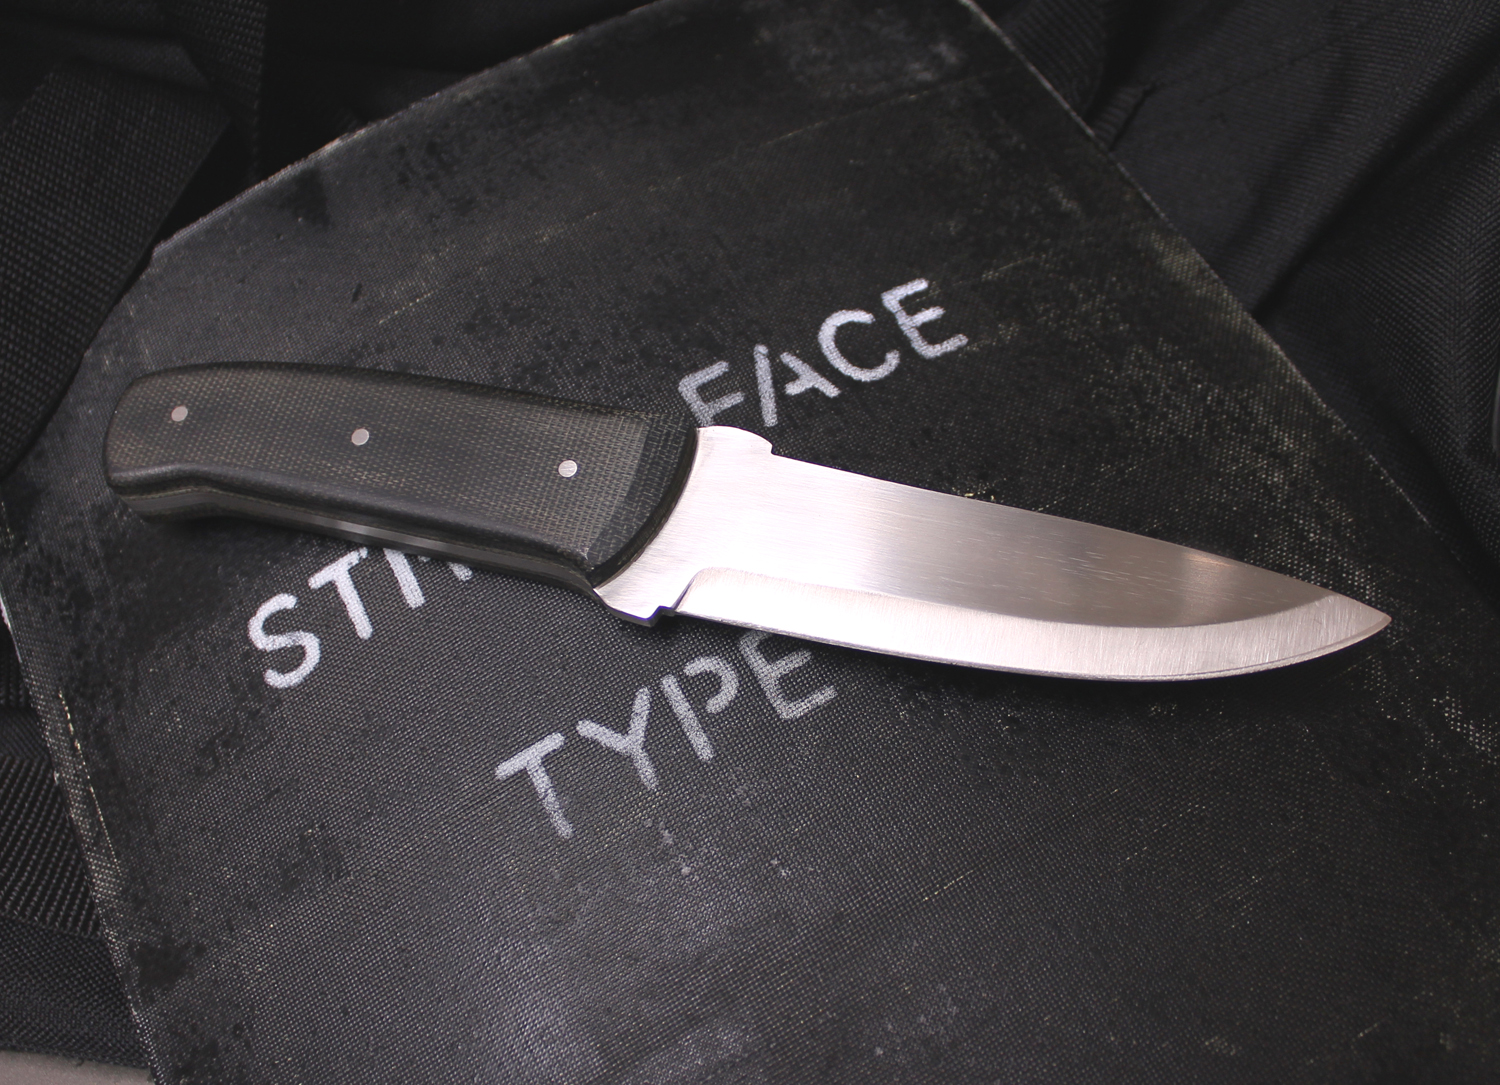
I drew out a template for the blade on some cardboard. The profile for my knife was loosely influenced by some Ernest Emerson fixed blade knives I had seen. My knife would be 9″ overall, with a 4 3/4″ blade. In marker, I traced the profile on to the steel. With my drill press, I drilled holes around the perimeter of the profile. I also drilled three holes for pinning the scales. The next step was to cut through the holes with a hacksaw to reveal the very rough blade shape.
At this point, the real fun began. The rest of the blade was shaped with a mill file. This is what I meant by “I won’t say it wasn’t hard…” Filing metal is an arduous and slow process. Once the remnants of the outside drill holes were gone, it actually started looking like a real knife!
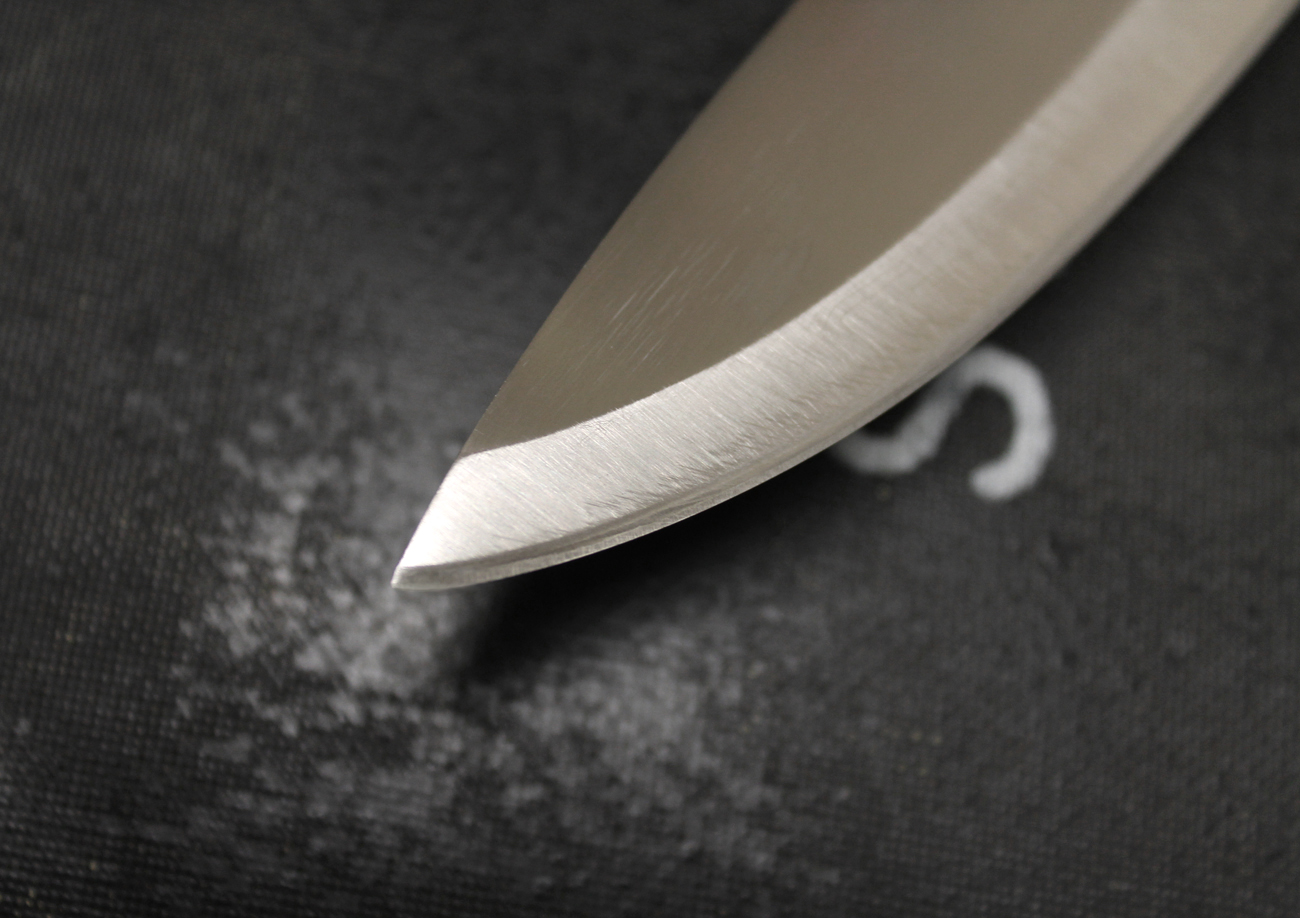
Now, on to the blade. Fortunately, my needs coincided with my abilities. I worked the edge into a rudimentary convex saber grind. This produces a very strong overall cross section for the blade. It also removes less steel from the blank than other grinds. A bonus for my hands.
Using a special scribe, I marked the center line of the blade and filed away material until I was down to about an 1/8″ width at the cutting edge. Since I would be taking the knife out to a local heat treating company, I did not want to risk the blade warping under high heat. I actually completed three blades in ATS-34 prior to the trip to the heat treater. When I took the blades in, I specified a Rockwell Hardness of 57-59 for good edge-holding ability.

 I had bought precision ground steel stock, so I took the flats down without much effort when I got the blade back. I finished the flats in a longitudinal satin finish, working down to a 600 grit wet/dry sandpaper wrapped around my file. For contrast, I gave the bevels a quick sanding with 400 grit paper perpendicular to the flats.
With the blade profiled, ground (filed), heat treated, and finished, I turned to the handles. I had ordered canvas Micarta specifically because it can take a coarse finish that is interesting to look at, but gives an excellent grip even when wet. I traced the outline of the knife handle on the two scales and cut them to fit with a coping saw. The scales are left about 1/4″ larger than the handle so they can be sanded down to match the steel.
I used the three holes I drilled into the handle as templates with which to drill holes in the handle scales that would accept the stainless pins. This is also the proper time to finish the fronts of the scales at the tang, since this can’t be done once they are glued on. When I had all this completed, I was ready to affix the handles.

 Prior to applying the epoxy, I taped up the finished blade to protect it. I think I used blue painter’s tape. After slathering the mixed two-part epoxy where the steel, Micarta, and pins met, I clamped them all together. Next came waiting for it to cure.
Success! Clamps removed, I had a blocky, unfinished mess below the mass of tape surrounding the blade. Leaving the tape in place, I put the blade into a vise, sandwiching the finished blade with wood strips to protect it. Ah, time to get the files back out. A wood rasp helped to get the Micarta under control at the outset.
At first, I sort of chamfered the edges of the scales, then I decided to just round them off a bit for comfort. I finished the Micarta with 320 grit wet/dry to leave some tactility to the handle. After unwrapping the tape, I had a knife!
I carefully used a benchstone to give the blade its edge. Then, I set about cutting up everything not nailed down in the garage to test my new friend’s sharpness. It’s a wonder I have all my fingers.
There are many finer points I could address, such as tapered tangs, colored spacers, lanyard holes, mosaic pins, and Corby rivets. Let’s call my account a very basic primer on stock removal knives.
Some years before this project, I had made a couple small knife sheaths from leather, which I stitched and dyed black. I suck at leather work. I did not enjoy playing with the stitching. From Sheffield, I ordered some black .060″ Kydex™ material.
This thickness of Kydex is thermoformed between 160° to 190° Fahrenheit. To make a simple sheath, I heated the Kydex until it was pliable in a toaster oven. I then pressed it onto the knife, which was on a flat surface. I used gloves and hand formed the Kydex with an old folded t-shirt. You have just seconds before the Kydex cools and becomes rigid again, but if you don’t like how it comes out, pop it back in the oven and it returns to its original flat shape. Then you try again!

 I took another piece of Kydex, which would be the back of the sheath and flapped it over to form a belt loop. I drilled four holes, trimmed the edges, and literally bolted the halves together. I could have used rivets or Chicago screws, but I liked the handmade look of the bolts, which I had spray painted black. The knife locks in very securely.
 There it is: one handmade stock removal-style knife and a Kydex sheath, tailored to my requirements for law enforcement work. I did it and you can, too. I dare not call myself a “knife maker” after having made only five knives. But, secretly, I guess I could!
by Wilson

I would say your on the right track,nice work!
Greetings from Vancouver Canada 🙂
LikeLike
Thanks, Michael! It was an adventure…
Wilson
LikeLike
Pingback: The SWAT Knife Revisited | BladeBarrelBezel.com
Thankk you for sharing
LikeLike